Please register your Astral Series Wireless Devices to be notified of new firmware releases.
Note: Updating ARX firmware clears the TX List (unpairs all transmitters).
Note: If running the Web App, it is recommended to clear the browser's cache after a firmware update.
- In the upper-right corner of the Chrome or Edge browser, select the three-dot menu (⋮) to open Settings and browser options.
- Navigate to More Tools.
- Select Developer Tools.
- Once Developer Tools are open, locate the browser's Refresh button.
- Right-click the Refresh button and select Empty Cache and Hard Reload.
- Allow the browser to complete the reload.
- Close Developer Tools by selecting the X in the upper-right corner of the Developer Tools panel.
To Update Astral ARX32 firmware:
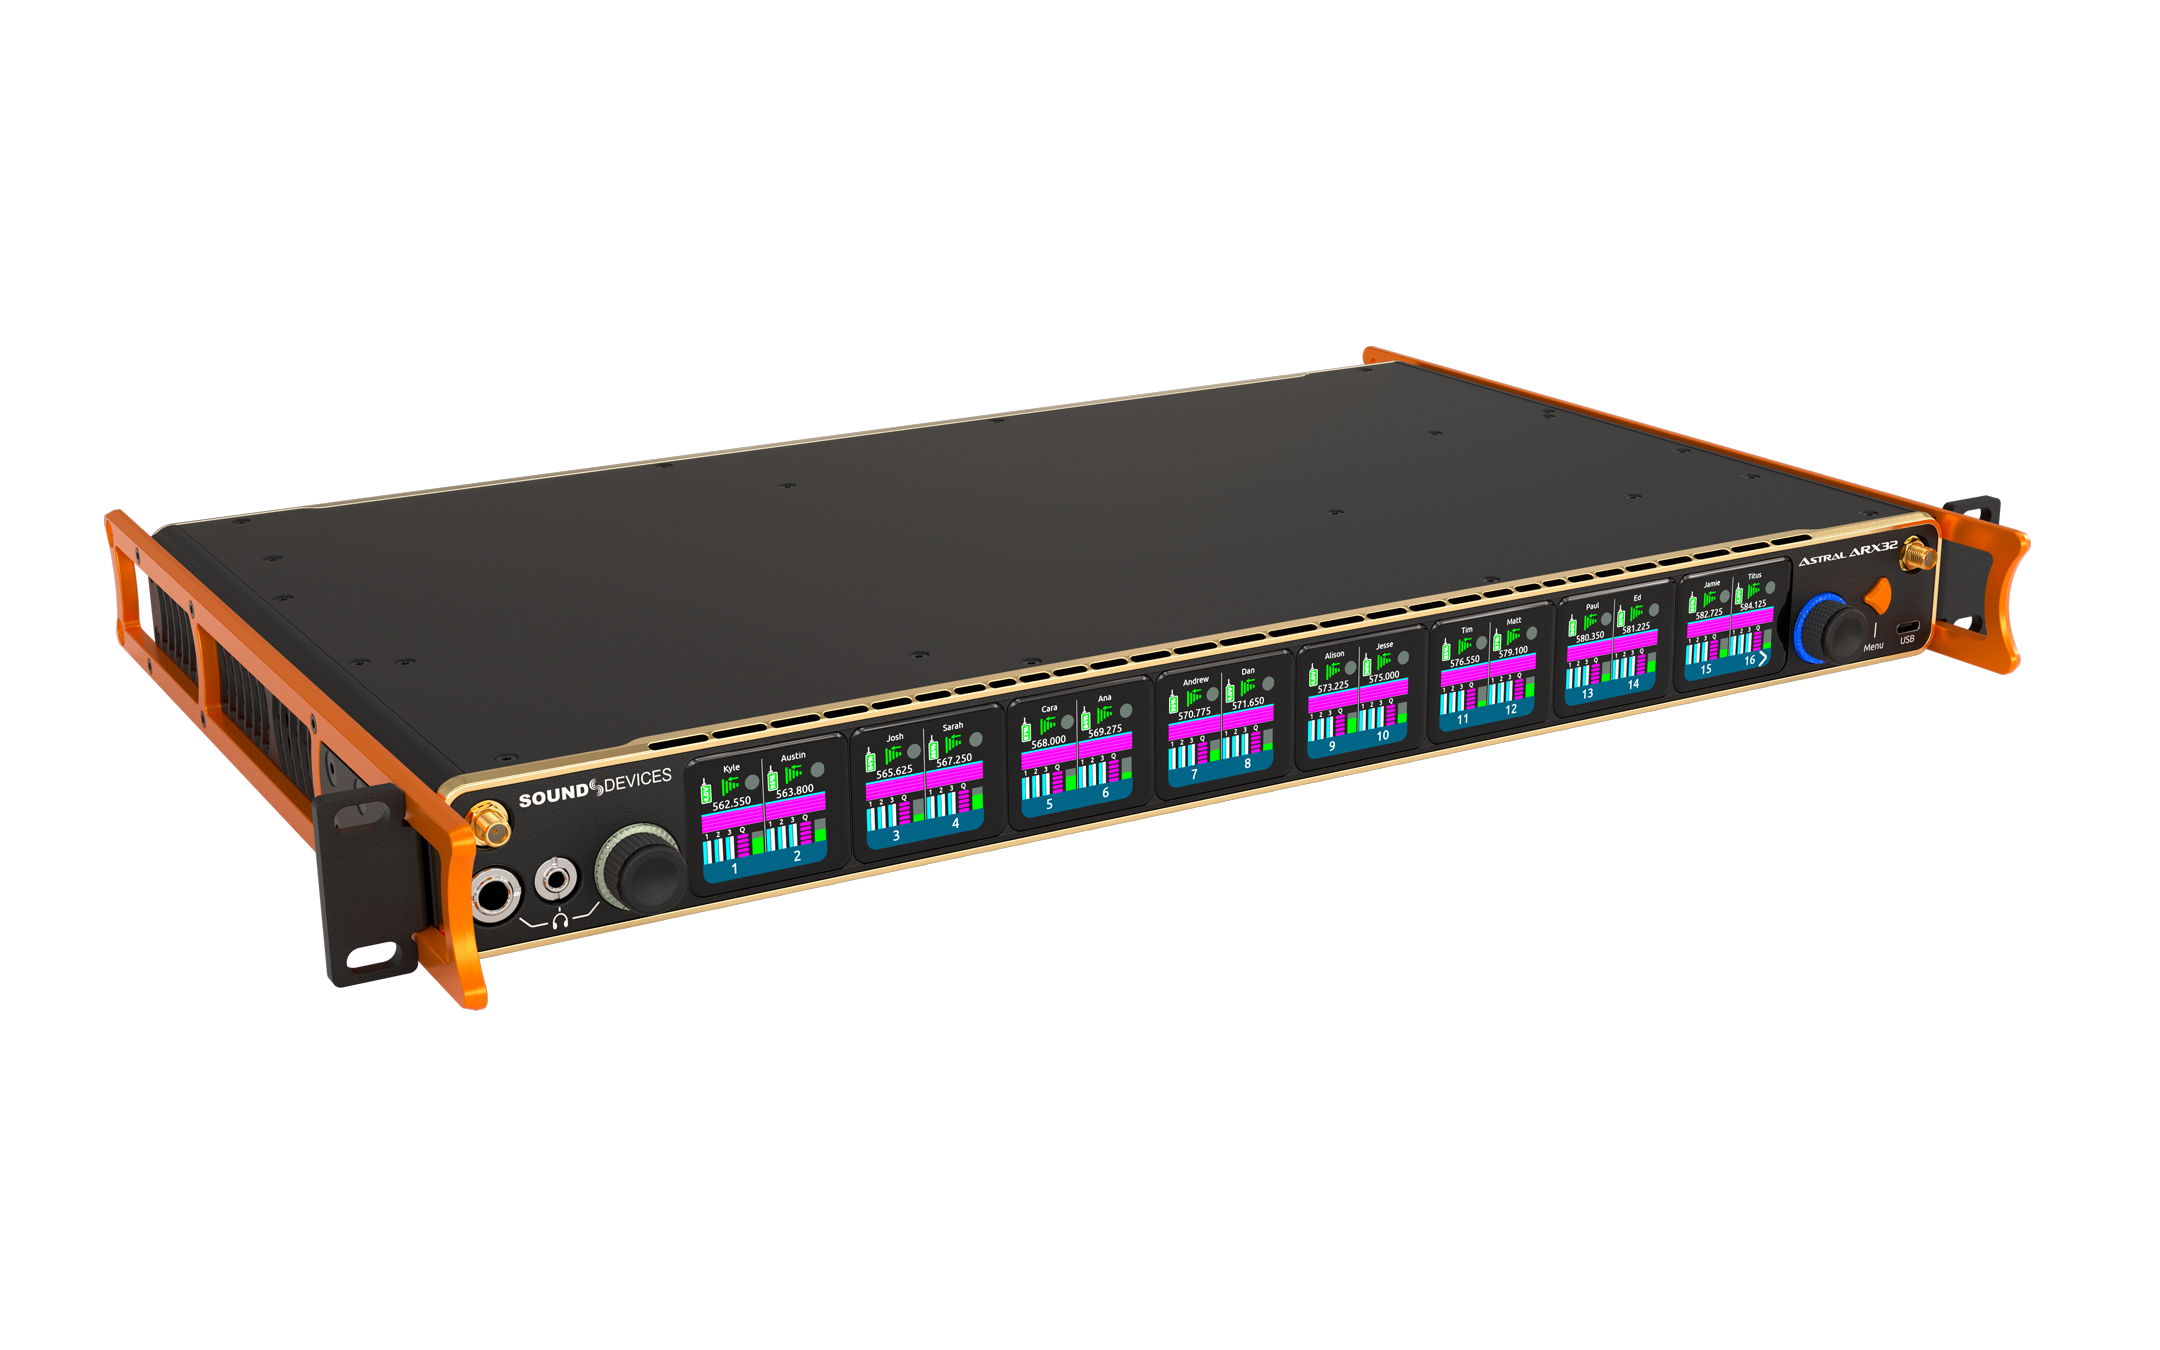
Note: If attached to an Astral Opto, ensure that your Astral ARX32 is running v1.10 or higher before updating firmware on an Astral ARX32.
Astral ARX32 Firmware
- Download the latest Astral ARX32 firmware update from the Sound Devices website.
- Copy the PRG file to the root of a USB thumb drive that has been formatted by the Astral ARX32. See System menu.
- Insert the USB thumb drive into the rear panel USB-A port or front panel USB-C port.
- On the receiver navigate to System > Firmware Update
- In the list, locate the receiver to update and select “Start Update.”
- The Astral ARX32 will automatically display a list of PRG Files on the USB thumb drive. Select the desired ARX32 PRG File and tap OK to start the update process.
- Once programming has finished, the Astral ARX32 will automatically restart and display “Unit has been updated.” Click OK to proceed.
To Update Astral ARX16 firmware:

Astral ARX16 Firmware
- Download the latest Astral ARX16 firmware update from the Sound Devices website.
- Copy the PRG file to the root of a USB thumb drive that has been formatted by the Astral ARX16. See System menu.
- Insert the USB thumb drive into the rear panel USB-A port.
- On the receiver navigate to System > Firmware Update
- In the list, locate the receiver to update and select “Start Update.”
- The Astral ARX16 will automatically display a list of PRG Files on the USB thumb drive. Select the desired ARX16 PRG File and tap OK to start the update process.
- Once programming has finished, the Astral ARX16 will automatically restart and display “Unit has been updated.” Click OK to proceed.
To Update Astral ARX8 firmware:
Astral ARX8 Firmware
- Download the latest Astral ARX8 firmware update from the Sound Devices website.
- Copy the PRG file to the root of a USB thumb drive that has been formatted by the Astral ARX16. See System menu.
- Insert the USB thumb drive into the rear panel USB-A port.
- On the receiver navigate to System > Firmware Update
- In the list, locate the receiver to update and select “Start Update.”
- The Astral ARX8 will automatically display a list of PRG Files on the USB thumb drive. Select the desired ARX16 PRG File and tap OK to start the update process.
- Once programming has finished, the Astral ARX8 will automatically restart and display “Unit has been updated.” Click OK to proceed.
To Update Astral HH firmware:
Astral HH Firmware
Option 1
- Download the latest Astral HH firmware update from the Sound Devices website.
- Insert a Micro SD card in the Astral HH. Micro SD card is not included.
- Format the Micro SD card. See Settings > System > Format.
- Connect the Astral HH to the computer using a USB-C cable.
- Download the Astral HH firmware update PRG file from the Sound Devices website.
- Copy the PRG file to the root of the Astral HH Micro SD card.
- Eject the Astral HH from the computer.
At this point, ‘Updating firmware. Please wait …’ is displayed and all the LEDs “dance” to indicate the firmware update is in progress. Once the update is completed, “Update successful. Rebooting …’ is displayed and the Astral HH reboots. The firmware update can take a few minutes to complete.
When the firmware update completes, the Astral HH automatically deletes the PRG file from the Micro SD card. The firmware version is displayed for a few seconds on the Home Screen after powering up. It is also displayed in the Astral Remote App’s Manage Devices view, the Astral HH’s Settings>System>Info menu, and in the Astral Receiver’s TX List >TX View.
Option 2 - FW 8.30 and later
- Download the latest Astral HH firmware update from the Sound Devices website.
- Copy the Astral HH PRG to the root of a USB thumb drive that has been formatted in an Astral ARX Receiver.
-
Insert the USB thumb drive into the appropriate ARX USB Port:
- ARX32: Rear USB-A or Front USB-C
- ARX16 / ARX8: Rear USB-A
- On the receiver navigate to System > Firmware Update
- Select the Astral HH Transmitter or Transmitter Group to update
- Select the desired PRG file from the list and tap OK to begin
- Once programming has finished, the Astral HH LEDs will stop “Dancing” and the unit will restart
Please note: This process first transfers the firmware to the transmitter wirelessly before performing the update and will take longer than directly transferring the .prg file from a computer to the transmitter (Option 1).
To Update Astral TX firmware:
Astral TX Firmware
Option 1
- Download the latest Astral TX firmware update from the Sound Devices website.
- Insert a micro-SD card in the Astral TX. Micro SD card is not included.
- Format the micro-SD card. See Settings > System > Format.
- Connect the Astral TX to the computer using a USB-C cable.
- Download the Astral TX firmware update PRG file from the Sound Devices website.
- Copy the PRG file to the root of the Astral TX micro-SD card
- Eject the Astral TX from the computer.
At this point, ‘Updating firmware. Please wait …’ is displayed and all the LEDs “dance” to indicate the firmware update is in progress. Once the update is completed, “Update successful. Rebooting …’ is displayed and the Astral TX reboots. The firmware update can take a few minutes to complete.
When the firmware update is completed, the Astral TX automatically deletes the PRG file from the media.
Option 2 - FW 8.30 and later
- Download the latest Astral TX firmware update from the Sound Devices website.
- Copy the Astral TX PRG to the root of a USB thumb drive that has been formatted in an Astral ARX Receiver.
-
Insert the USB thumb drive into the appropriate ARX USB Port:
- ARX32: Rear USB-A or Front USB-C
- ARX16 / ARX8: Rear USB-A
- On the receiver navigate to System > Firmware Update
- Select the Astral TX Transmitter or Transmitter Group to update
- Select the desired PRG file from the list and tap OK to begin
- Once programming has finished, the Astral TX LEDs will stop “Dancing” and the unit will restart
Please note: This process first transfers the firmware to the transmitter wirelessly before performing the update and will take longer than directly transferring the .prg file from a computer to the transmitter (Option 1).
To Update Astral Mini Plus firmware:
Astral Mini Plus Firmware
Option 1
- Download the latest Astral Mini Plus firmware update from the Sound Devices website.
- Connect the Astral Mini Plus to the computer for file transfer using a USB-C cable.
- Copy the PRG file to the root of the Astral Mini Plus media.
- Eject the Astral Mini Plus from the computer and remove the USB-C cable.
At this point, the LEDs circle around the top button and the EPD (ePaper Display) shows 'Updating firmware. Please wait ..." to indicate the firmware update is in progress. The firmware update can take a few minutes to complete. Once completed, the EPD shows 'Update successful. Rebooting ...' When the firmware update is completed, the Astral Mini Plus automatically deletes the PRG file from the media. Firmware version information is displayed in Astral Remote > Manage Transmitter view and in the ARX Transmitter View > Information section.
Option 2 - FW 8.30 and later
- Download the latest Astral Mini Plus firmware update from the Sound Devices website.
- Copy the Astral Mini Plus PRG to the root of a USB thumb drive that has been formatted in an Astral ARX Receiver.
-
Insert the USB thumb drive into the appropriate ARX USB Port:
- ARX32: Rear USB-A or Front USB-C
- ARX16 / ARX8: Rear USB-A
- On the receiver navigate to System > Firmware Update
- Select the Astral Mini Plus Transmitter or Transmitter Group to update
- Select the desired PRG file from the list and tap OK to begin
- Once programming has finished, the Astral Mini Plus LEDs will stop “Dancing” and the unit will restart
Please note: This process first transfers the firmware to the transmitter wirelessly before performing the update and will take longer than directly transferring the .prg file from a computer to the transmitter (Option 1).
To Update Astral Mini firmware:

Astral Mini Firmware
Option 1
- Download the latest Astral Mini firmware update from the Sound Devices website.
- Connect the Astral Mini to the computer for file transfer using a USB-C cable or the PowerStation-8M. See File Transfer and PowerStation-8M for more information.
- Copy the PRG file to the root of the Astral Mini media.
- Eject the Astral Mini from the computer.
At this point, the LEDs “dance” to indicate the firmware update is in progress. The firmware update can take a few minutes to complete. Wait for all LED activity to stop before using or powering off the Astral Mini. When the firmware update is completed, the Astral Mini automatically deletes the PRG file from the media. Firmware version information is displayed in Astral Remote Manage Transmitter view and in the Transmitter View Information menu.
Option 2 - FW 8.30 and later
- Download the latest Astral Mini firmware update from the Sound Devices website.
- Copy the Astral Mini PRG to the root of a USB thumb drive that has been formatted in an Astral ARX Receiver.
-
Insert the USB thumb drive into the appropriate ARX USB Port:
- ARX32: Rear USB-A or Front USB-C
- ARX16 / ARX8: Rear USB-A
- On the receiver navigate to System > Firmware Update
- Select the Astral Mini Transmitter or Transmitter Group to update
- Select the desired PRG file from the list and tap OK to begin
- Once programming has finished, the Astral Mini LEDs will stop “Dancing” and the unit will restart
Please note: This process first transfers the firmware to the transmitter wirelessly before performing the update and will take longer than directly transferring the .prg file from a computer to the transmitter (Option 1).
Tx Firmware version information is displayed in the following locations:
- Astral Remote in the “Manage Transmitter” view,
- Astral TX Boot Up Information or Astral TX/HH Menu>Settings>System>Info
- Astral ARX16/Astral ARX8 and Astral ARX32 TX List >TX Info view.
To Update Astral Outpost firmware:

Astral Outpost Firmware
Option 1 - Via Ethernet - FW 8.30 and later
- Download the latest Outpost firmware update from the Sound Devices website.
- Copy the Astral Outpost PRG to the root of a USB thumb drive that has been formatted in an Astral ARX Receiver.
-
Insert the USB thumb drive into the appropriate ARX USB Port:
- ARX32: Rear USB-A or Front USB-C
- ARX16: Rear USB-A
- Ensure that the Astral Outpost is paired to the receiver, connected via Ethernet to the Astral receiver, and powered on.
- Go to the Astral ARX’s System menu, tap More (on ARX16), select Firmware Update, choose the Astral Outpost from the Device list, then select Start Update in OLED 4.
- The Astral ARX sends the firmware to the Astral Outpost over Ethernet. During the update process, the Status column displays the firmware update progress and the Astral Outpost’s rear panel power LED alternately flashes red, green and blue. Once the update has been completed successfully, the rear panel power LED changes to solid green and the PRG file is automatically erased from the thumb drive. If the update fails, the power LED flashes red.
Option 2 - Via USB Thumb Drive
- Download the latest Outpost firmware update from the Sound Devices website.
- Copy the Astral Outpost PRG to the root of a USB thumb drive that has been formatted in an Astral ARX Receiver.
- Power the Astral Outpost via >15 W PoE or USB-C source.
- Insert the thumb drive into the Astral Outpost’s USB-A port. The Astral Outpost automatically detects the PRG file and starts updating. During the update process, the Astral Outpost’s rear panel power LED flashes alternating red, green, and blue. Once the update has been completed successfully, the rear panel power LED changes to solid blue and the PRG file is automatically erased from the thumb drive. If the update fails, the power LED flashes red.
To Update All Devices
Sound Devices Astral series wireless systems can simultaneously update Outposts, transmitters, and receivers through the receiver’s System > Firmware Update menu.
- Download all of the latest firmware update files desired from the Sound Devices website.
- Copy each of the PRG files to the root of a USB thumb drive that has been formatted in an Astral ARX Receiver.
-
Insert the USB thumb drive into the appropriate ARX USB Port:
- ARX32: Rear USB-A or Front USB-C
- ARX16 / ARX8: Rear USB-A
- On the receiver navigate to System > Firmware Update
- Navigate to the All Devices group in the update utility list and tap Start Update
- When prompted, select each appropriate PRG file from the USB thumb drive list for the specific Astral Wireless hardware selected by the update utility.
- After a PRG file has been assigned to each hardware component, the update utility will update each component individually.
Wireless Firmware Update Status Indicators:
To Update Astral ARX2 firmware:
Firmware is installed on the Astral ARX2 via SD-Utility or via Sound Devices 8-Series Mixer-Recorders.
The Sound Devices SD-Utility software utility includes a receiver firmware update tool. SD-Utility is available as a free download for MacOS 10.11+ or Windows 10+ computers.
Download the latest version of SD-Utility.
MacOS users need to download and install the CP210x USB to UART Bridge VCP Drivers from the Silicon Labs website. Read installation instructions.
Astral ARX2 connects to SD-Utility via the A-XLR, A-TA3, A-RXMON, A-15PIN, or A10-RACK.
To update Astral ARX2 firmware via A-XLR, A-TA3, A-RXMON, or A-15PIN:
- Download new Astral ARX2 firmware update PRG file from the Sound Devices website.
- Launch the SD-Utility application.
- Connect the Astral ARX2 via USB to the computer. The A-XLR, A-TA3, A-RXMON connect via Micro-USB. The A-15PIN connects via USB-C. Note: A USB 3.0 port is required to power the Astral ARX2 via the A-15PIN. If a USB 3.0 port is not available, connect two USB 2.0 ports to the A-15PIN using the Sound Devices MX-USB Y USB-C to two USB-A Y-Cable.
- Connect a power source to the A-XLR, A-TA3, A-RXMON. The A-15PIN does not require additional power.
- Power on the Astral ARX2.
- From SD-Utility, select File > Update RX and then select the firmware PRG file to install.
- Follow the on-screen prompts.
To update Astral ARX2 firmware via A10-RACK:
- Download new Astral ARX2 firmware PRG file from the Sound Devices website.
- Launch the SD-Utility application.
- Connect the A10-RACK back panel USB-B port to the computer’s USB-A port using a standard USB-A to -B cable.
- Ensure all Astral ARX2 receivers are properly slotted into the A10-RACK.
- Power on the A10-RACK and Astral ARX2-SL receivers.
- From SD-Utility, select File > Update RX and then select the firmware PRG file to install. SD-Utility detects all Astral ARX2-SL receivers in the A10-RACK. SD-Utility lists all connected Astral ARX2 receivers along with their serial number and current firmware version.
- SD-Utility detects receivers running older versions of Firmware and automatically selects them for updating. Otherwise, select the Update check box for each Astral ARX2 to update, then click Update.
- Click OK to confirm when prompted. A status bar indicates the progress of each Astral ARX2 update. Receivers are updated one at a time. As the receiver is updated, its screen displays Programming and the LEDs turn off. After the update, the receiver returns to normal operation. An Update Complete popup appears after all receivers have been updated.
- Click OK when Firmware Update is complete.
Updating Astral ARX2 from Sound Devices Mixer-Recorders
Updating the firmware on the Astral ARX2-SL may be done via the Sound Devices 8-Series Mixer-Recorders, while the receiver is slotted into the SL-2 or SL-6.
To update Astral ARX2-SL firmware via the Scorpio and SL-6 or the 8-Series and SL-2:
- Download new firmware PRG file from the Sound Devices website and copy it to an SD card.
- Power on the 8-Series.
- Insert the SD card into the slot on the side of the 8-Series.
- Press and hold the METERS button, then press the Headphone knob to access Receiver Overview screen.
- Turn and press the Select knob to select a receiver. This accesses the Receiver Details screen.
- Slide RTN/FAV switch to select Options.
- Select Update Firmware. Confirm the selected file when prompted and select OK to continue.
As the receiver is updated, its screen will display Programming and the LEDs will turn off.
Repeat steps for each receiver in the SL-2 or SL-6.